"DC" Duality of Criteria - B&W VS Colorful | Macro Photography Session
Hi everyone
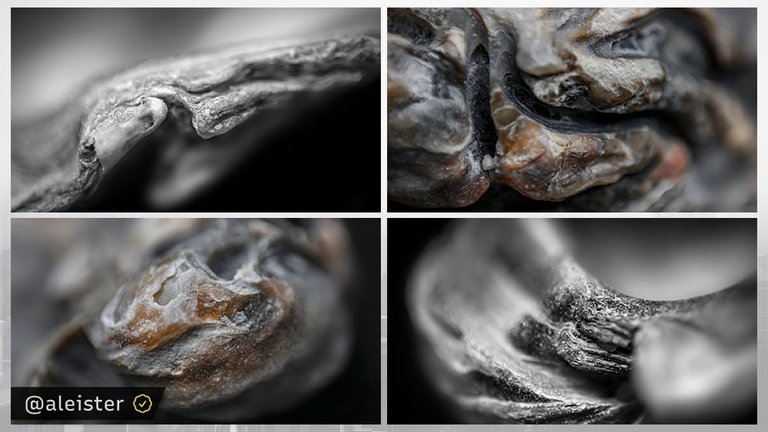
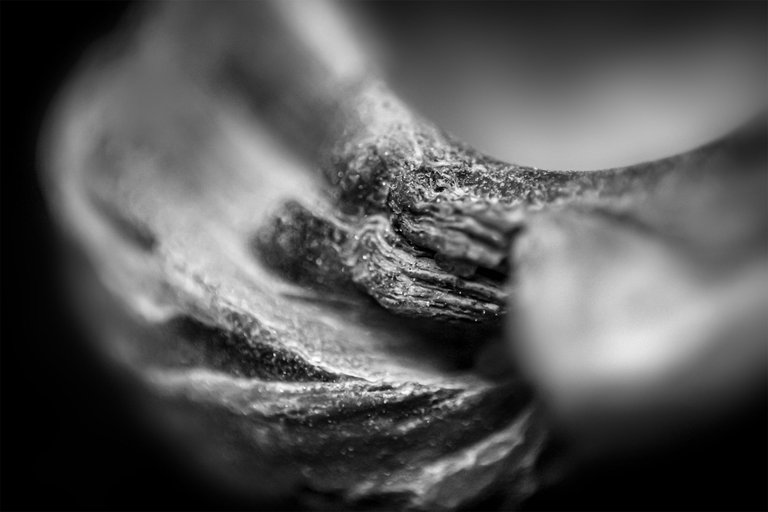
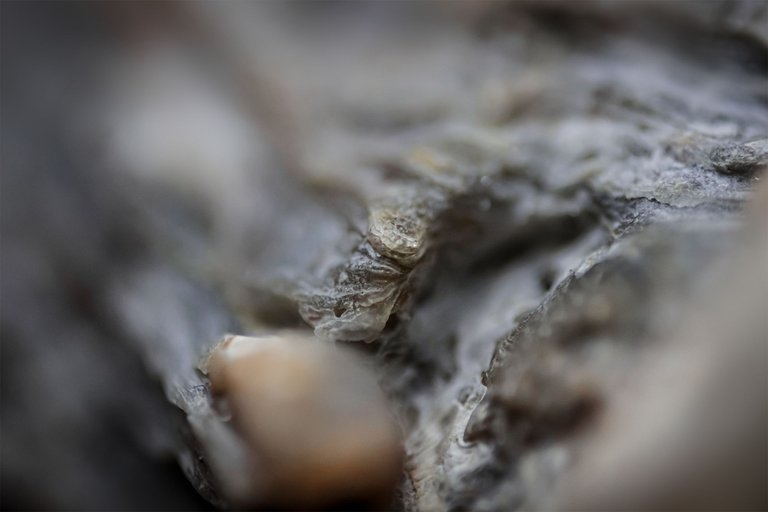
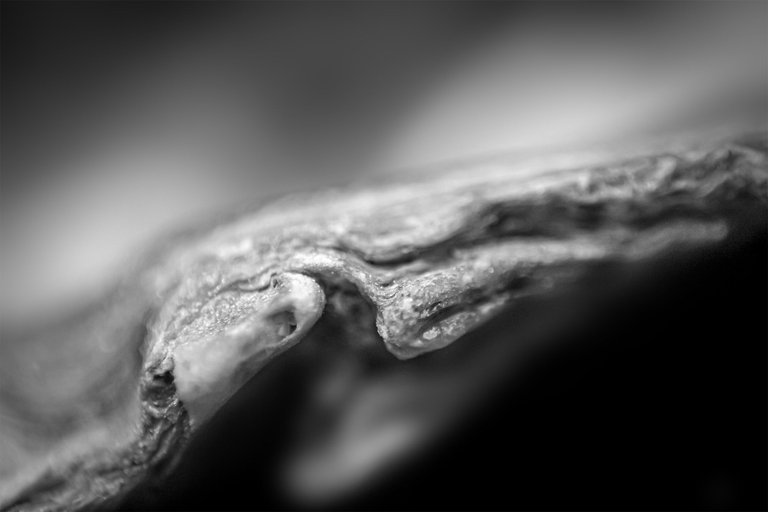
Initially I opted for a completely monochromatic and abstract approach in its scenic representation, but in the middle of editing I chose to maintain the original neutral colors, thus demonstrating a more realistic look.
These pieces of nature are authentic works of art and visually recording their details is extremely pleasurable.
For anyone who has a camera with a removable lens, I strongly advise you to use this technique that I demonstrate a little below and to experience these unique and unpredictable visual moments captured by moving the lens closer.
Session Purpose
The main objective of this macro photography session is to capture detailed images, with a focus on thoroughly observing and documenting all characteristics and visual details. Furthermore, i seek to create attractive visual compositions for publication on this blog, aiming to share the beauty and complexity of this structure.
Technical Description of Macro Photography Session
Procedures
- Environment Preparation:
Assembling the macro photography set in a controlled environment, minimizing the presence of dust and ensuring a clean and white surface for positioning the subject. - Section Positioning:
Placing the subject in position that highlight the unique characteristics, using appropriate supports to keep the example stable. - Lighting Adjustment:
Setting the LED lights to provide uniform illumination, adjusting the intensity and angle of the lights to eliminate unwanted shadows. - Image Capture:
Taking multiple shots with variations in aperture settings, shutter speed and capture angle, exploring different perspectives and compositions. - Image Review:
Immediate analysis of images captured on the camera's viewfinder to ensure that all desired details were captured sharply and clearly. - Post-Production Editing:
Importing images into editing software (Adobe Photoshop CS) to adjust brightness, contrast, sharpness and remove any imperfections.
Camera Settings
Focus Mode: Manual focus to ensure precision in specific details of structure.
Aperture: Variable aperture between f/1 and f/2 for adequate depth of field, ensuring all important details are in focus.
ISO: Low ISO setting (800) to minimize noise in images.
Shutter Speed: Adjust shutter speed as needed to avoid underexposure, while maintaining a value that allows you to capture sharp details.

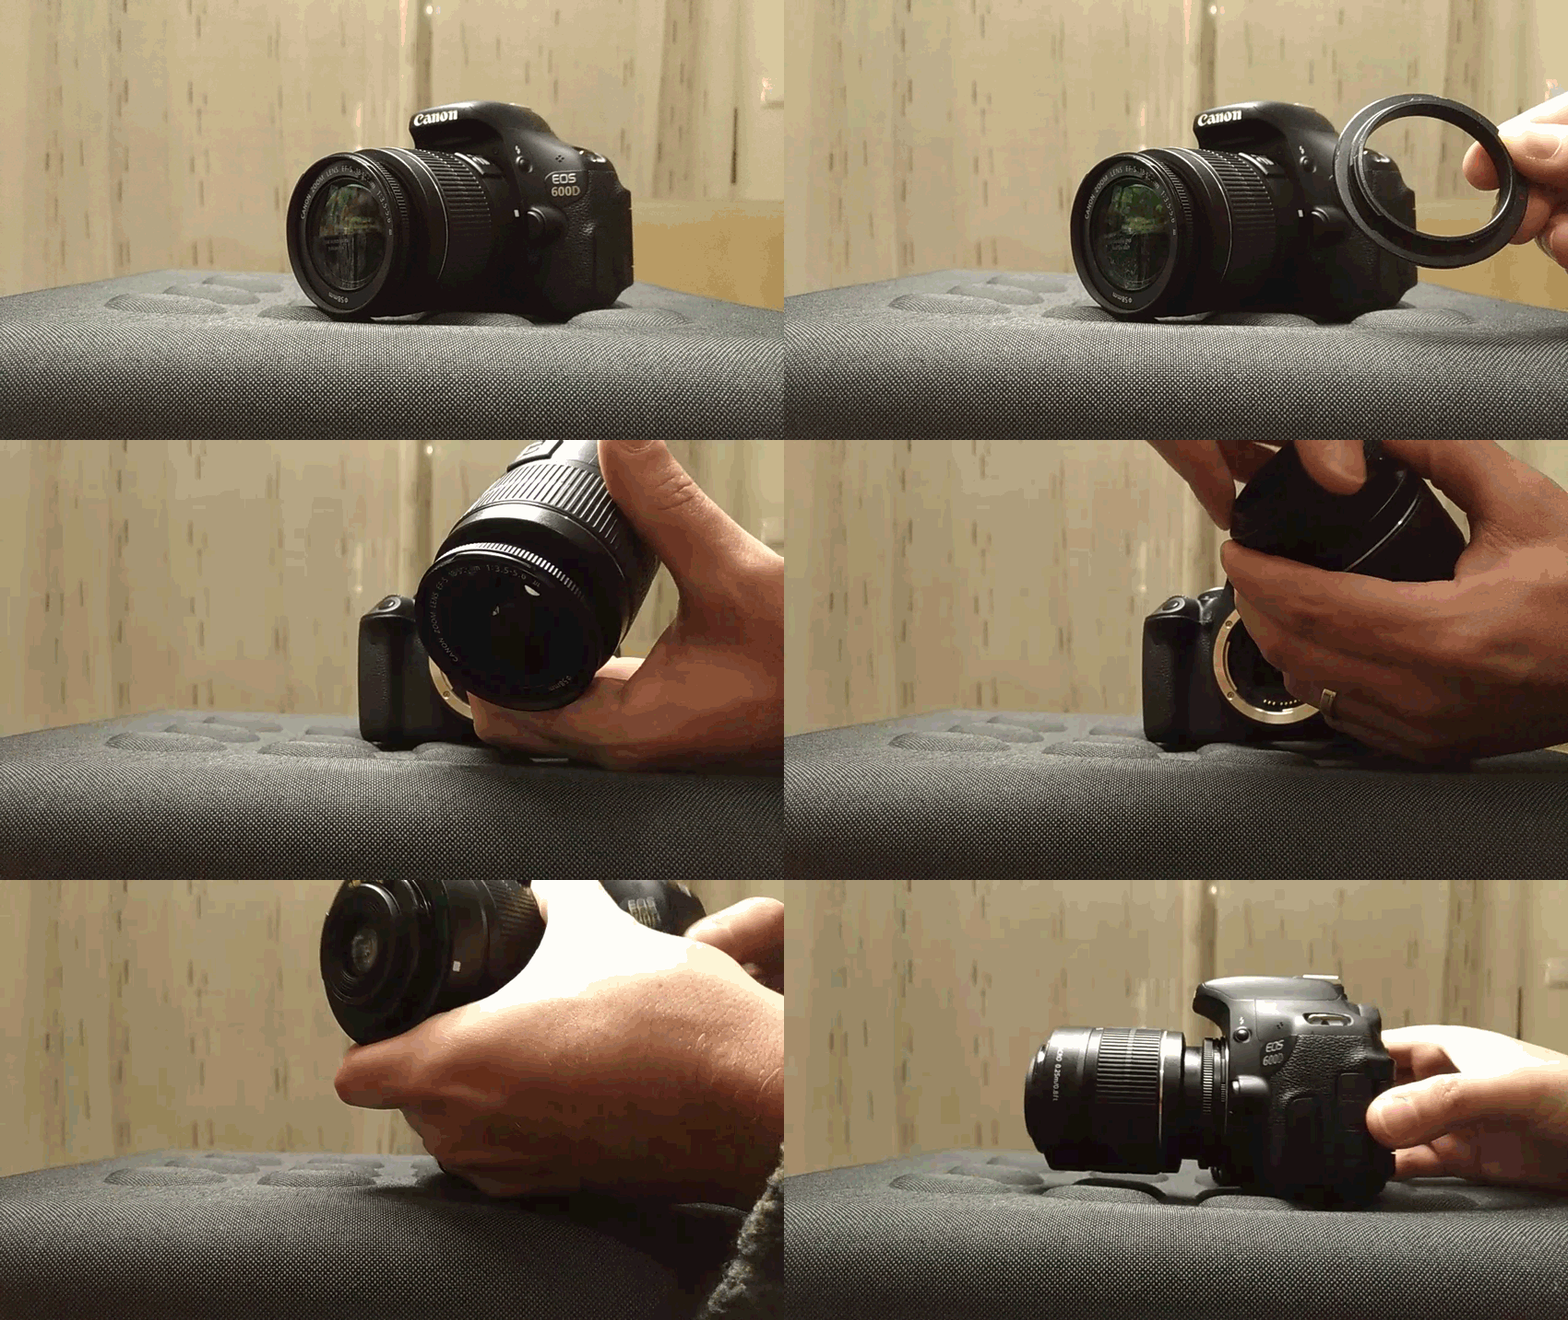
Among the numerous techniques available for macro photography, this method is arguably the most cost-effective and efficient for individuals possessing a camera with a removable lens. By simply detaching the lens and reversing its direction, and employing an inversion ring, the process becomes more manageable and streamlined.
Used equipments
Camera: Canon EOS 600D Digital SLR with CMOS sensor
Lens: EFS 18-55mm with f/2 maximum aperture, allowing shallow depth of field and capturing fine details.
Used inverter ring
Tripod: not used
Lighting: Adjustable LED lights to provide soft, even lighting, avoiding harsh shadows and highlighting the details of structures.
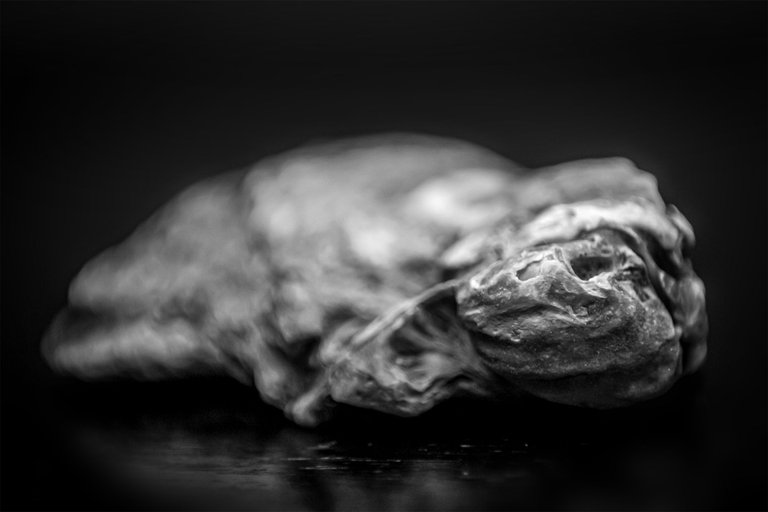
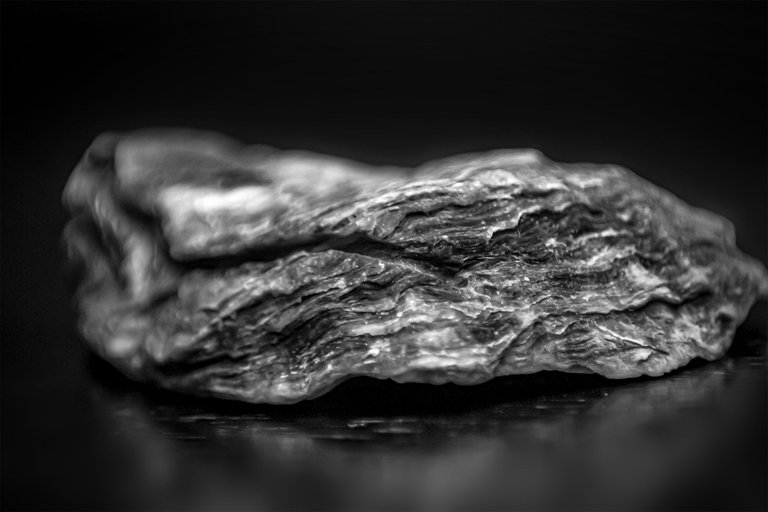
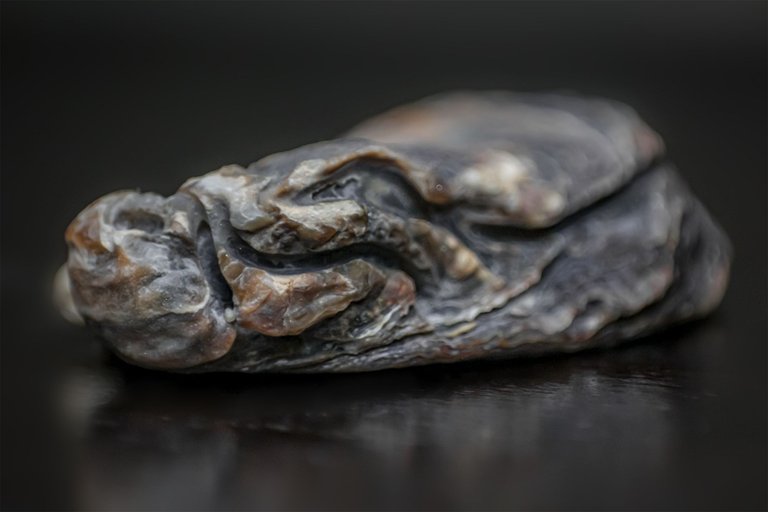
Let me present today’s model:
Before moving onto the result...
- My introductory thoughts about macro photography:
Macro photography, by allowing the capture of minute details that are often invisible to the naked eye, opens up a universe of possibilities in the exploration and dissemination of new layers of reality. Personally, I believe that this photographic technique offers a privileged window to reconfigure our perception of the world, bringing to light the intrinsic complexity of objects, living beings and seemingly banal phenomena. Macro photography, by expanding the visual field, allows us to observe textures, patterns and structures that would otherwise remain unknown or undervalued.
One of the aspects that fascinates me most about this technique is its ability to generate a diversity of unique perspectives. By focusing on details that would normally go unnoticed, macro photography reveals the richness and complexity of the microscopic world, which are often beyond the reach of the conventional human gaze. This not only transforms our relationship with our surroundings, but also challenges us to reconsider notions of scale and visual importance.

Let's now move onto the result:
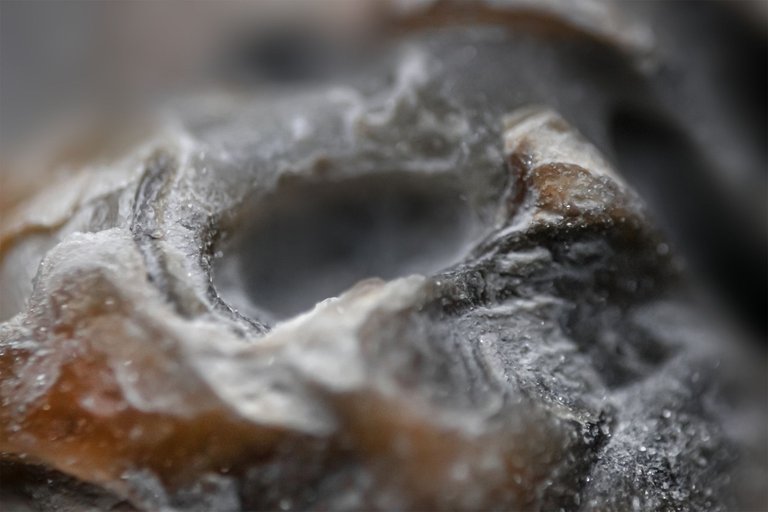
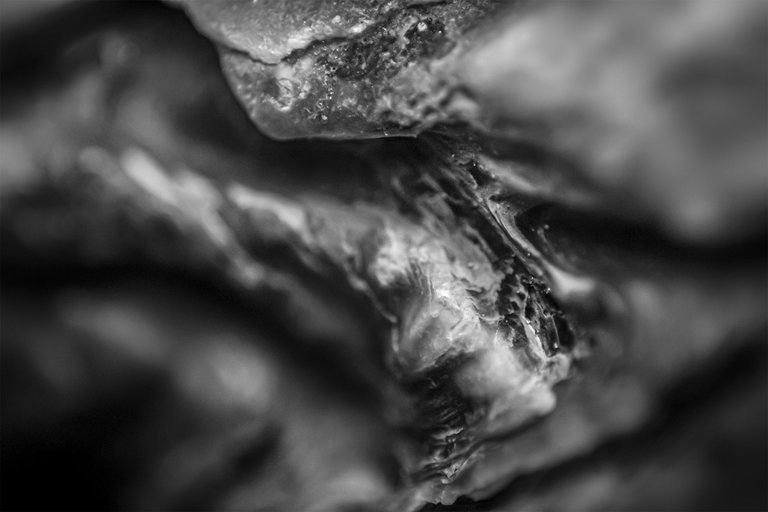
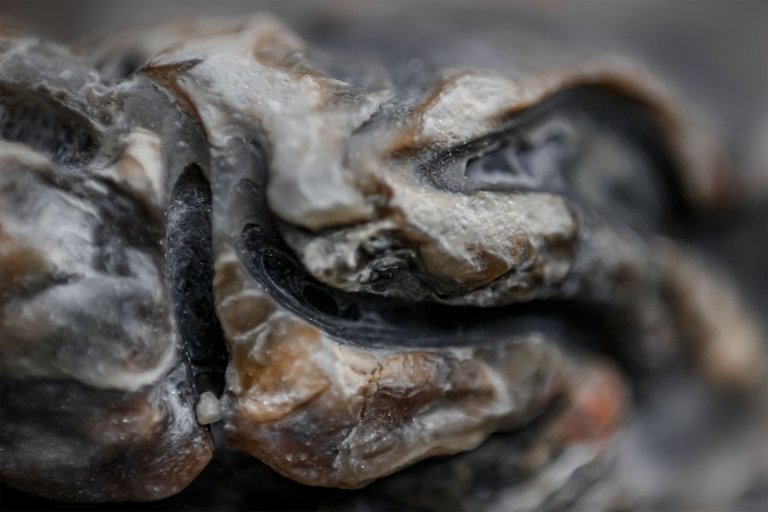
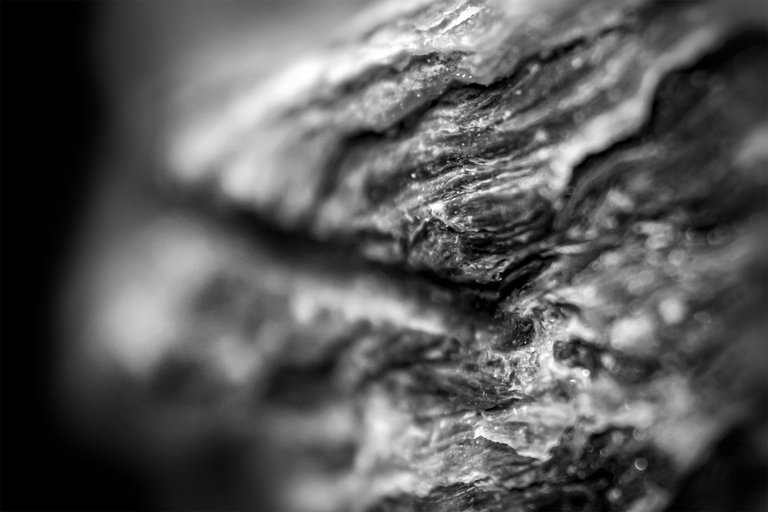
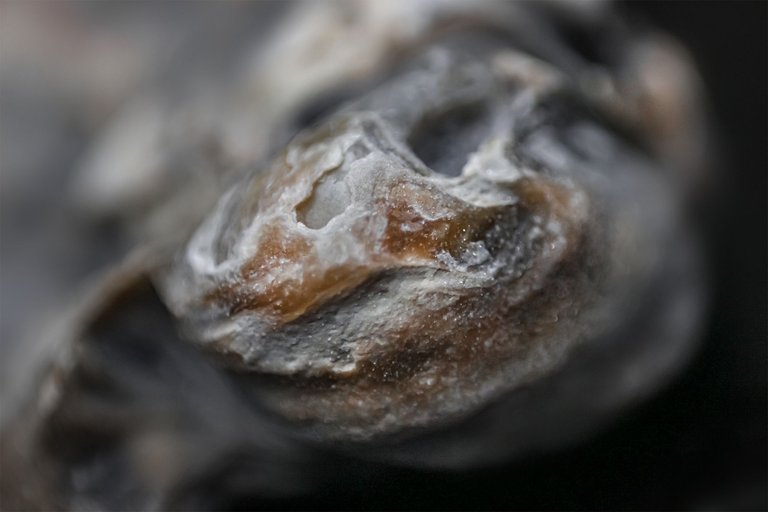
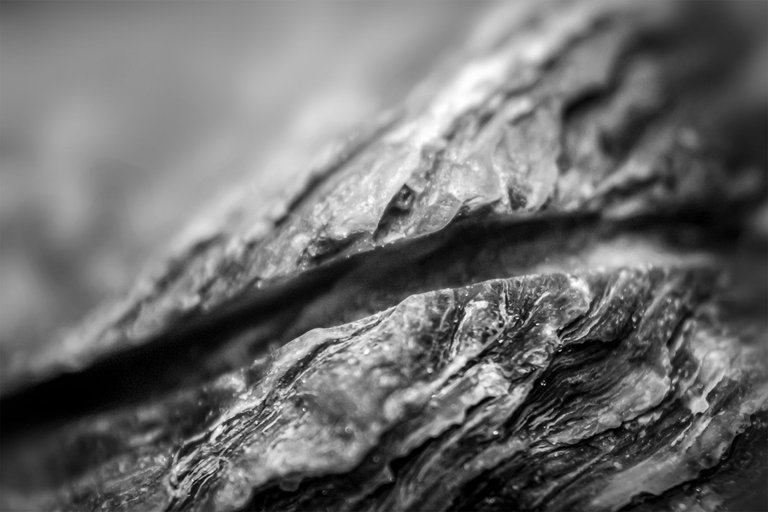
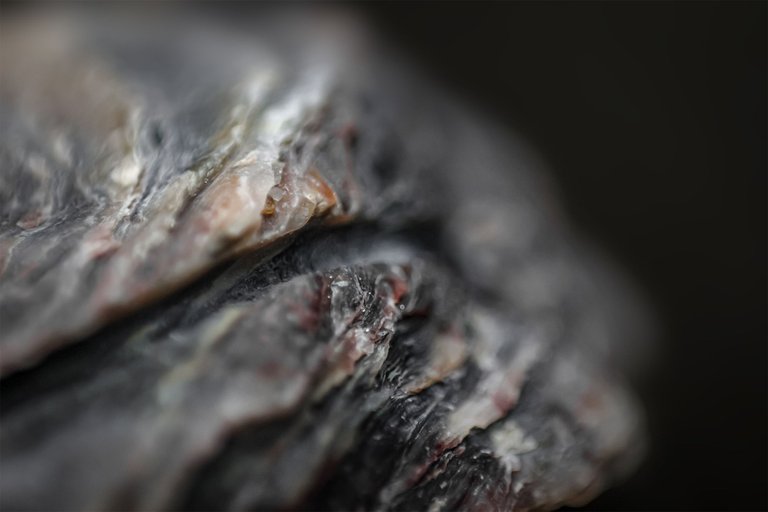
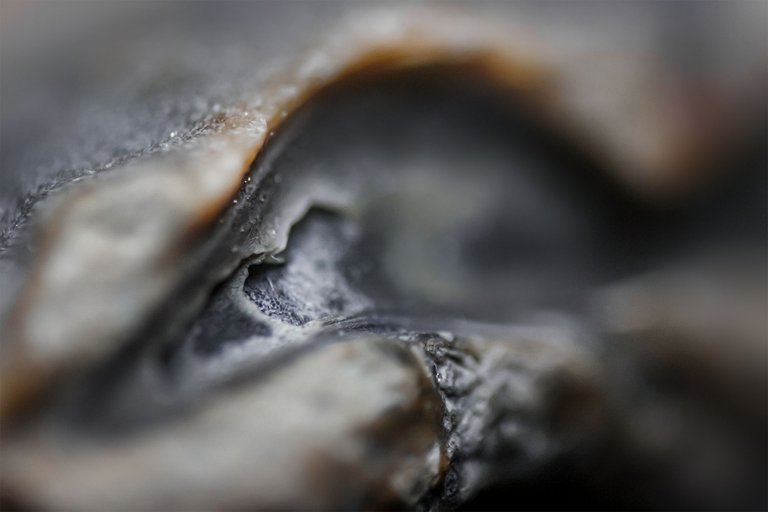
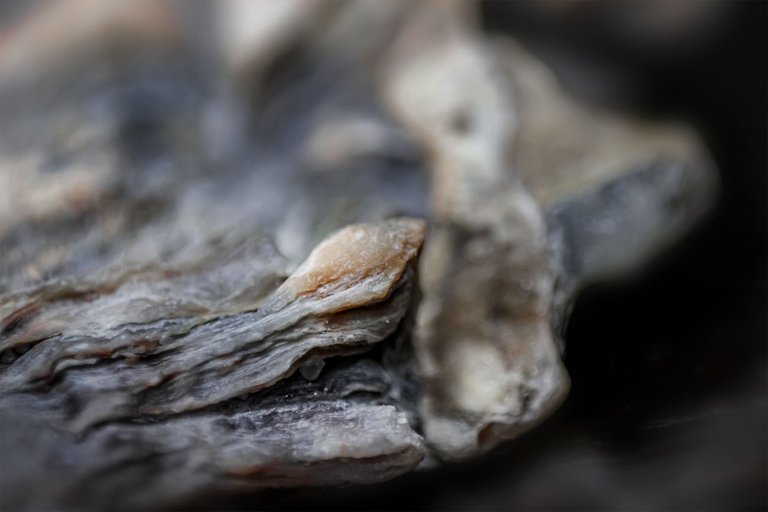
To finish, i leave you with some considerations regarding these photo sessions:
In exploring the miniature world through macro photography, I uncover a captivating dimension where even the smallest details hold remarkable significance. Engaging with the intricacies of these minuscule elements reveals a beauty often overlooked in daily life. Each image captures a transient moment, a fraction of time in which the complexity of seemingly simple forms is exposed. The essence of macro photography, in my view, lies in its ability to transform the ordinary into the extraordinary, providing a close-up, nuanced perspective. This practice not only highlights the particularities of small-scale subjects but also invites us to appreciate the hidden marvels of nature, seldom observed in such detail.
The session is closed for today.
Hope you like it :)

These photos weren't taken with a tripod
Camera - Canon EOS 600D
Lens - EFS 18-55mm
Location - Portugal

See you soon
Thank you for watching
Never forget
The price of anything is the amount of life you trade for it.
Time is life... value yours, make every fraction worth it.
Thanks a lot :)
Beautiful photos and interesting technique with the inversion ring for macro photography. I have not heard of it and may have to try it one day.
I'm a little confused - you say you used an EFS 18-55 which is a f/3.5-5.6 if I'm not mistaken, does it come as an f/2 version also? And how do you get to f/1 that you mention under several photos.
This one made me LOL - I consider ISO 800 still quite high i.e. grainy and will use ISO 100 for low noise - guess things change 😆
Hi there @oceanbee :) first of all i'm super glad you like the visual result from this session :) and thank you for stopping by. About the lens i use, you are absolutely right, this is a Canon EF-S 18-55mm f/3.5-5.6, but when it comes to the need to invert the lens through the ring, I lose the ability to manipulate the opening automatically and end up doing it manually ;) try it and you'll understand what I'm talking about :p about the ISO, you are right again lol 800 is still super high when we are trying to avoid the noise, but belive me, i'm doing this inside at night with a pretty weak artificial point of light and then i do the final edition in PS. Doing this with ISO 100 i would need much much more light :p once again, thanks so much for your comment :)
Thanks for clarifying the confusion with the f-stop. Really interesting concept I'll have to try. I'm pretty curious 😀.
Absolutely correct that you'd need way more light with ISO100, it was just the note 'low noise and ISO800' that sparked my LOL. Also, I find that newer cameras have a better noise handling even on cropped sensors. I recently changed from a full frame back to a CMOS and find it takes amazingly low noise pictures, even at ISO1600.
Anyhow, thanks for sharing these.